(Spring)쇼핑 페이지 예제 클론코딩3
깃허브 repository : shopping page practice
목차
작가 상세보기
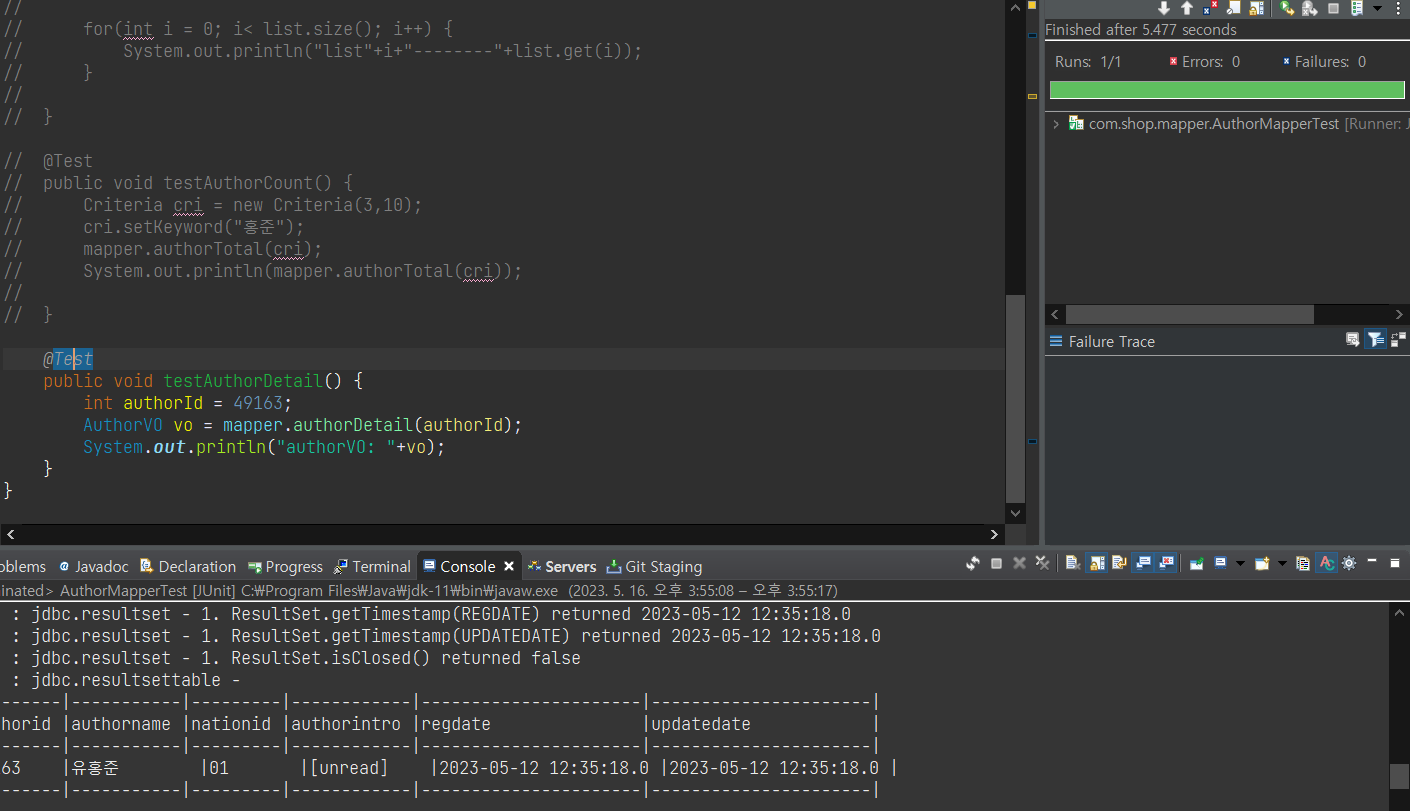
1. 작가 상세 보기 Mapper, Service 만들기
//작가 상세 보기
	public AuthorVO authorDetail(int authorId);
<select id="authorDetail" resultType="com.shop.model.AuthorVO">
		select * from jm_author where authorId = #{authorId}
	</select>
@GetMapping("/authorDetail")
    public void authorDetailGET(int authorId, Model model, Criteria cri) throws Exception {
    	logger.info("authorDetail페이지 접속");
    	logger.info("authorId: "+authorId);


    	AuthorVO author = authorService.authorDetail(authorId);
    	model.addAttribute("cri",cri);
    	model.addAttribute("authorInfo", author);
    }
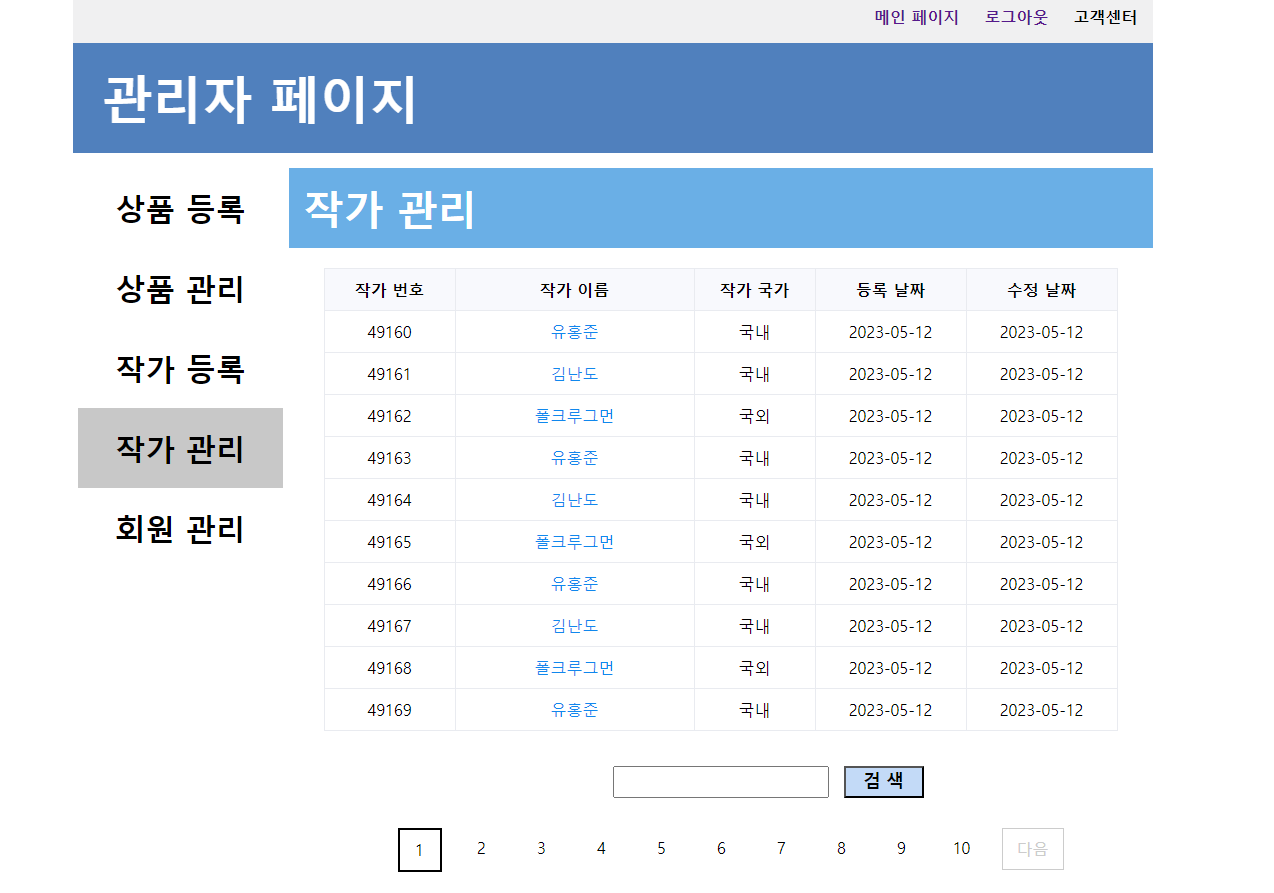
authorManage.jsp에서 authorDetail.jsp로 넘어갈수 있도록 a태그를 달아줍니다.
<td>
	<a class="move" href='<c:out value="${list.authorName }"/>'>
			<c:out value="${list.authorName }" />
	</a>
</td>
그리고 눌렀을때 값을 갖고 넘어갈수 있도록 스크립트문도 작성해 줍니다.
	/* 작가 상세 페이지 이동 */
		$(".move").on("click", function(e){

			e.preventDefault();

			moveForm.append("<input type='hidden' name='authorId' value='"+ $(this).attr("href") + "'>");
			moveForm.attr("action", "/admin/authorDetail");
			moveForm.submit();

		});
여기 예제에서는 값을 넘기기 위해서 일일히 스크립트문을 작성해준다.
하지만 오히려 나는
<td>
	<a class="move" href='/admin/authorDetail?authorId=<c:out value="${list.authorId}"/>'>
			<c:out value="${list.authorName }" />
	</a>
</td>
이게 더 간편하지 않나 생각이 든다. 전달해줘야하는 값이 여러개라면 스크립트문에 더 깔끔하겠지만 값이 적다면 그냥 저렇게 작성하는게 더 나을거같다.
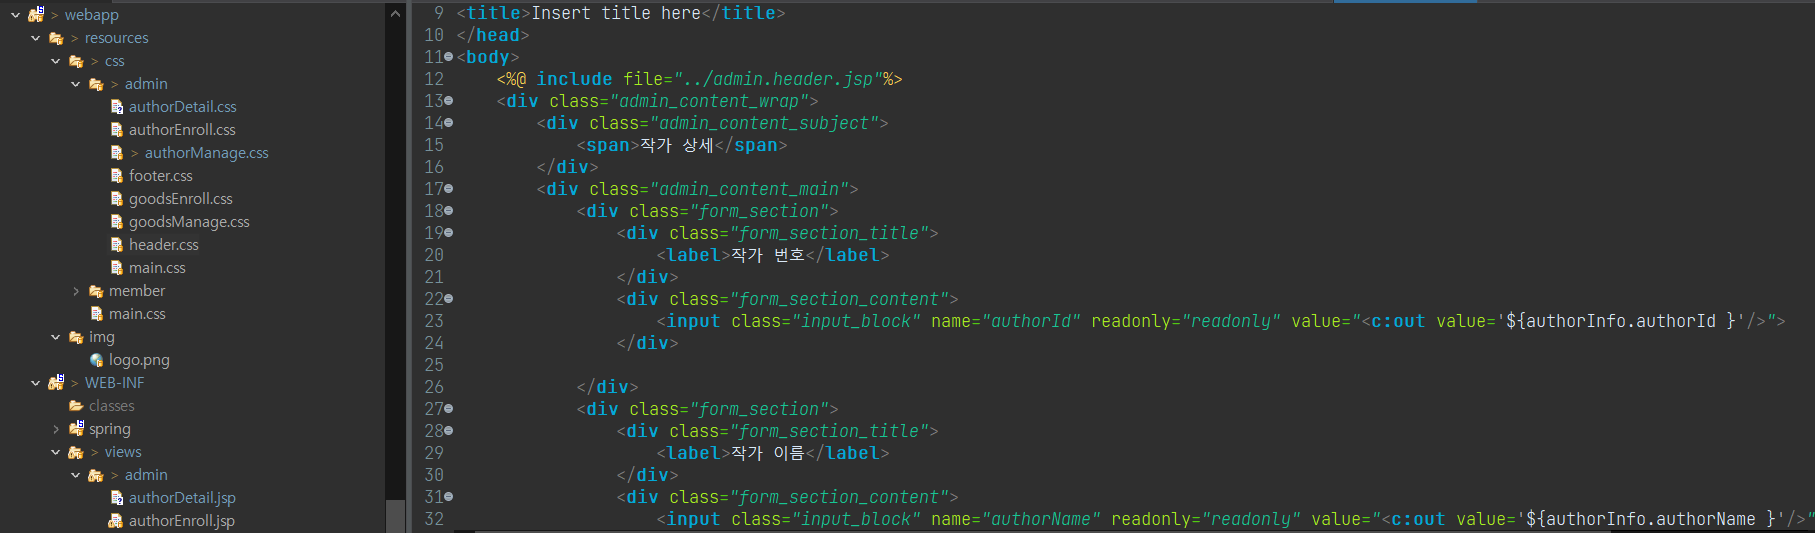
2. authorDetail.jsp, authorDetail.css생성
그리고 작가 목록 버튼과 수정 버튼이 작동할 수 있도록 스크립트 작성
<script>

let moveForm = $("#moveForm");

/* 작가 관리 페이지 이동 버튼 */
$("#cancelBtn").on("click", function(e){

	e.preventDefault();

	$("input[name=authorId]").remove();
	moveForm.attr("action", "/admin/authorManage")
	moveForm.submit();

});

/* 작가 수정 페이지 이동 버튼 */
$("#modifyBtn").on("click", function(e){

	e.preventDefault();

	moveForm.attr("action", "/admin/authorModify");
	moveForm.submit();

});
</script>
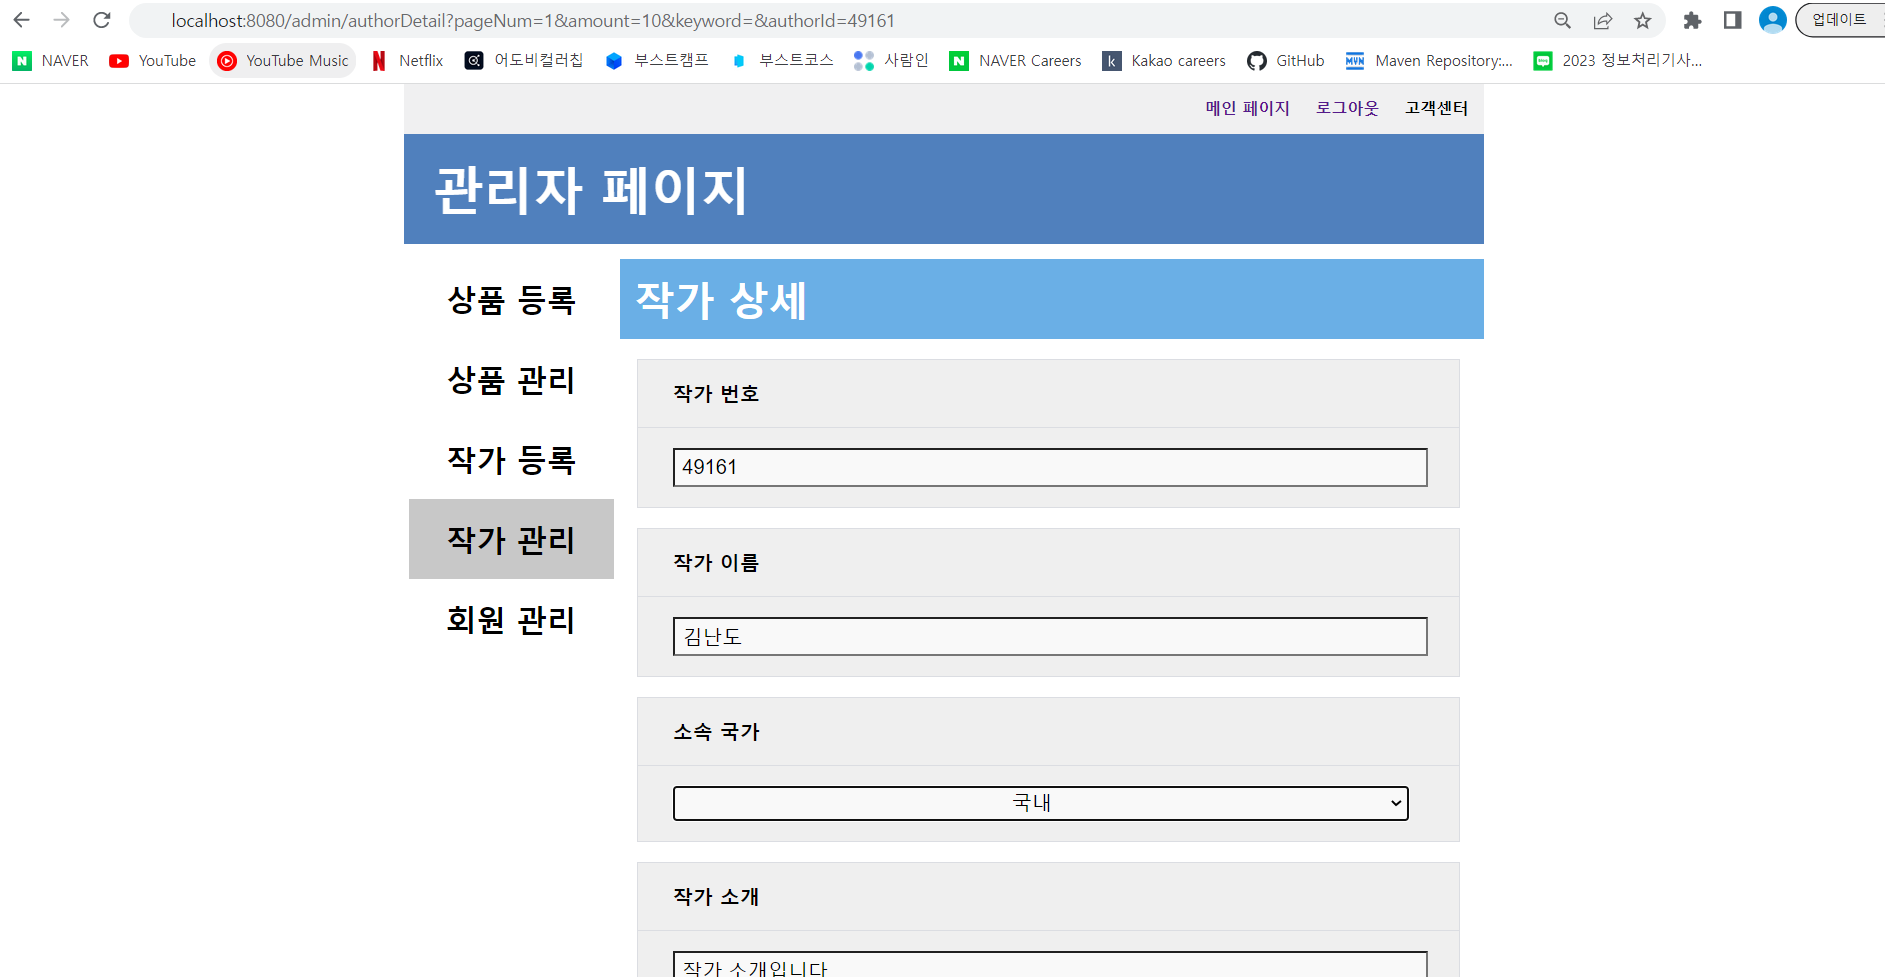
왜 작가 상세페이지 진입하는데 criteria 정보를 매개변수로 받는지 몰랐는데 실행해보니 깨달았다. 상세 페이지에서 작가 목록창 버튼을 누르면 기존 criteria 정보를 갖고 가기때문에 상세페이지 들어가기 전 페이지 그대로 목록창에 진입하게 된다.
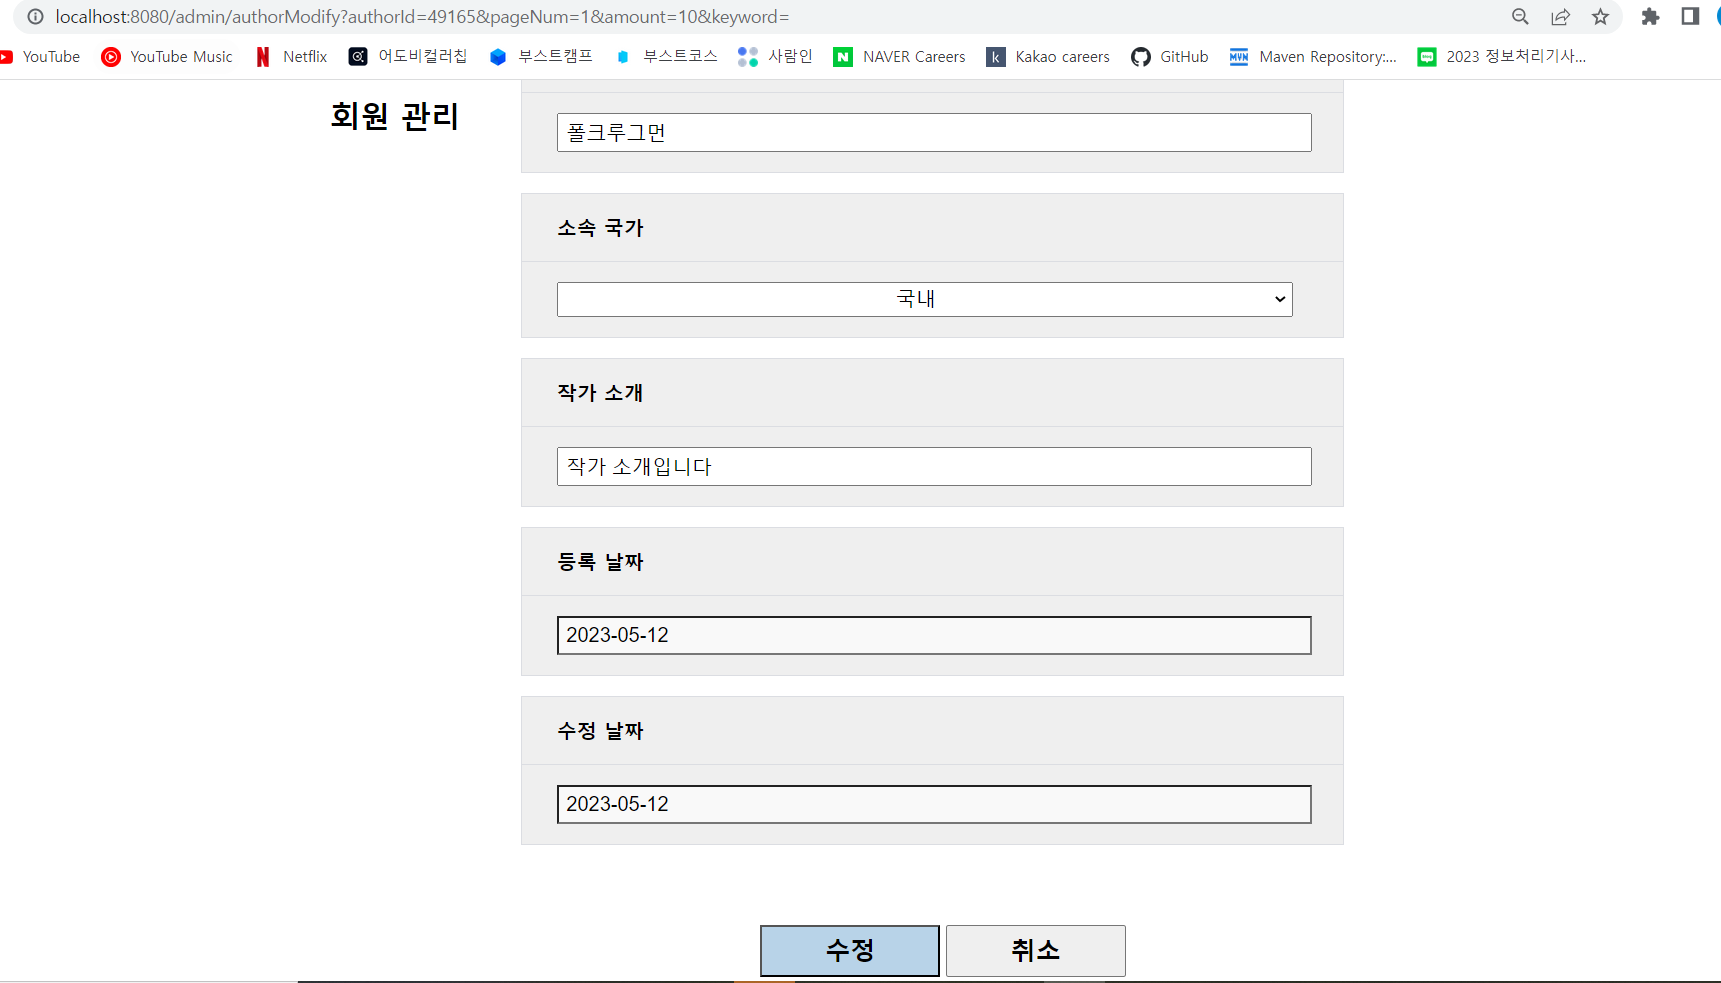
작가 수정 페이지
1. Controller Mapping 작성
기존 “authorDetail”과 매핑 구성이 똑같아서 url 배열로 처리한다.
@GetMapping({"/authorDetail", "/authorModify"})
2. View(jsp) 생성
기존 authorDetail.jsp와 구성이 거의 동일해 코드를 그대로 가져와서 수정하겠다. css도 authorDetail.css로 링크
그리고 수정된 정보를 넘기기 위해 form태그도 삽입해줍니다.

기존 작가이름, 소속 국적, 작가소개 input태그에 disabled와 readonly 속성을 제거해 줍니다.
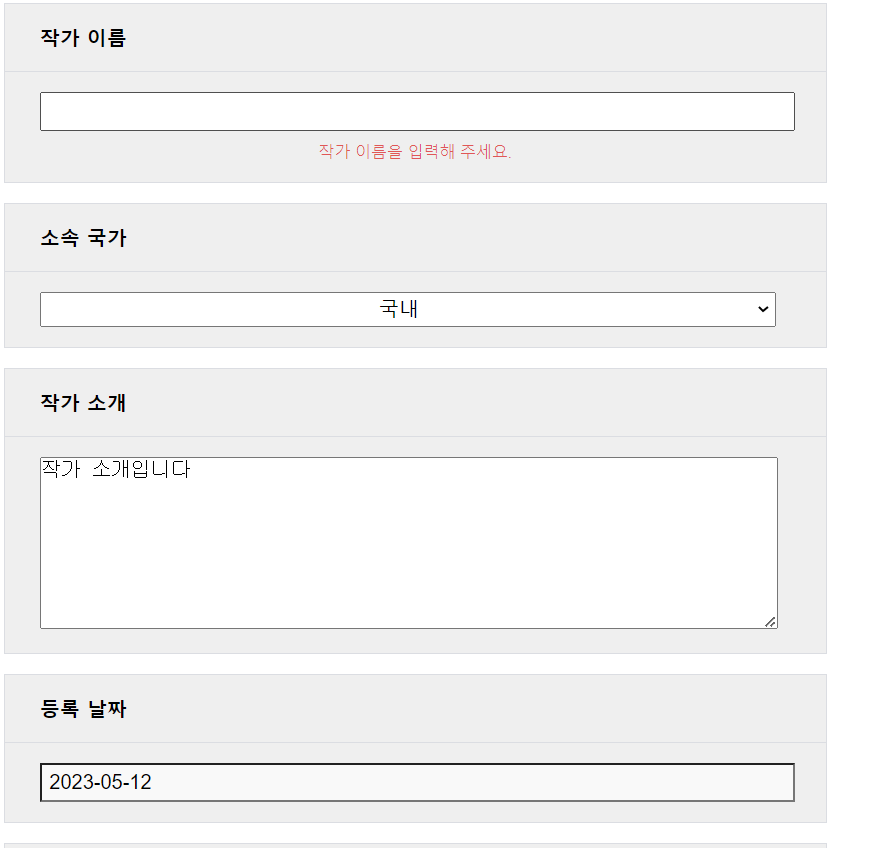
form태그에 유효성 검사를 위해 각 input태그 밑에 span태그로 경고문을 작성해줍니다. 그리고 css로 평소에는 보이지 않게 숨겨줍니다.
 <div class="form_section_content">
			<input name="authorName" value="<c:out value='${authorInfo.authorName }'/>">
			<span id="warn_authorName">작가 이름을 입력해 주세요.</span>
	</div>
 <div class="form_section_content">
			<input name="authorIntro" value="<c:out value='${authorInfo.authorIntro }'/>">
			<span id="warn_authorIntro">작가 소개를 입력해 주세요.</span>
	</div>
<div class="btn_section">
		<button id="modifyBtn" class="btn modify_btn">수정</button>
		<button id="cancelBtn" class="btn">취소</button>
</div>
let moveForm = $("#moveForm");
		let modifyForm = $("#modifyForm");

		/* 작가 상세 페이지 이동 버튼 */
		$("#cancelBtn").on("click", function(e) {

			e.preventDefault();

			$("input[name=authorId]").remove();
			moveForm.attr("action", "/admin/authorDetail")
			moveForm.submit();

		});

		/* 작가 수정 페이지 이동 버튼 */
		$("#modifyBtn").on("click", function(e) {

			e.preventDefault();

			moveForm.attr("action", "/admin/authorModify");
			moveForm.submit();

		});

		/* 작가 수정버튼 작동 및 유효성 검사*/
		$("#modifyBtn").on("click",function(e){
			let authorName = $(".form_section_content input[name='authorName']").val();
			let authorIntro = $(".form_section_content textarea").val();
			let nameChk = false;
			let introChk = false;

			e.preventDefault();

			if(!authorName){
				$("#warn_authorName").css("display", "block");
			} else {
				$("#warn_authorName").css("display", "none");
				nameChk = true;
			}
			if(!authorIntro){
				$("#warn_authorName").css("display", "block");
			} else {
				$("#warn_authorName").css("display", "none");
				introChk = true;
			}

			if(nameChk && introChk){
				modifyForm.submit();
			}else{
				return false;
			}
		});
3. Mapper작성
Author Mapper, service에 수정 메서드를 작성해줍니다.
<update id="authorModify">
		update jm_author set authorName = #{authorName}, nationId = #{nationId}, authorIntro=#{authorIntro}, updateDate= sysdate
		where authorId = #{authorId}
</update>
4. Controller에 PostMapping 작성
form태그에서 post로 정보를 넘겼으니 PostMapping을 작성해 줍니다.
@PostMapping("/authorModify")
	public String authorModifyPOST(AuthorVO author, RedirectAttributes rttr) throws Exception {
		logger.info("authorModify 실행");

		int result = authorService.authorModify(author);
		rttr.addFlashAttribute("modify_result", result);
		return "redirect:/admin/authorManage";
	}
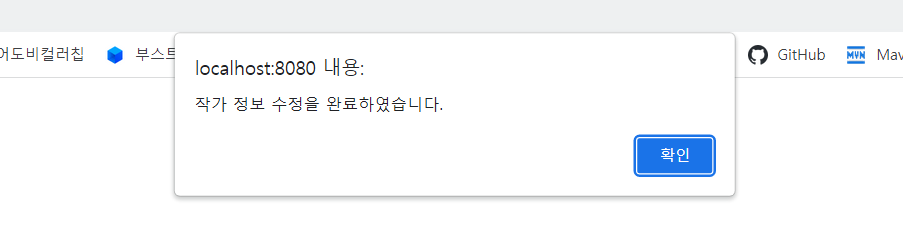
addFlashAttribute로 수정 결과값을 넘겨줬으니 authorManage.jsp에서 확인 alert를 띄우도록 스크립트를 작성해 줍니다.
let mResult = '<c:out value = "${modify_result}"/>';

		checkResult(mResult);

		function checkResult(mResult){
			if(mResult == '1'){
				alert("작가 정보 수정을 완료하였습니다.");
			} else {
				alert("작가 정보 수정에 실패하였습니다.");
			}
		}